
 Deutschland | €
 United Kingdom | £
 Italy | €
 Polska | zł
How do you prepare your car for waxing to achieve a perfect result that lasts for months? It turns out that a regular wash simply isn't enough! Discover decontamination – the "step zero" of detailing and the essential foundation for preparing your car before applying wax or a ceramic coating.
Spring and summer are the time of year when we're far more inclined to think about car care. That's completely understandable – conditions are favourable, and the results should look great for much longer than during the winter months. Many drivers choose to entrust their vehicle to professionals at car washes or the increasingly popular detailing studios, but some will certainly prefer to do the work themselves for the satisfaction of it. It's for those people that we've put together this short guide.
Why do we call decontamination "step zero"? We want to highlight that this process should be carried out right at the beginning of every thorough wash or protection session.
Pre-wash: the foundation for safe work
If the car is heavily soiled with visible mud and sand deposits, a pre-wash should be carried out using a pressure washer and either active foam or a spray solution. The foam or spray will soften the dirt, while the pressurised water will safely remove sand particles that could otherwise scratch the paintwork later on.
Looking for a good product in this category? Reach for an easy-to-use neutral pH shampoo such as QJUTSU Creamy Shampoo. It works brilliantly as an active foam – you'll find the dilution table on the back label.
Main wash: restoring cleanliness
First and foremost – a thorough hand wash. Forget the touchless car wash! Pressure alone will only remove loose dirt, while a thin film of road grime will remain on the paintwork. Bring in a sponge or wash mitt to help, and use a brush to get into the tighter spots.
Washing with shampoo is the first stage of paint preparation. Its job is to clean the car of all surface dirt. The process itself is straightforward – apply the product to a sponge or dilute it with water, then spread it evenly. The shampoo lifts and isolates the dirt, which is then rinsed away with water. It's as simple as it is satisfying. QJUTSU Creamy Shampoo delivers incredible glide and a dense lather – but most importantly, it rinses off easily even after it has dried!

During the wash, use a brush to reach into the nooks and crannies, working around badges and other hard-to-access areas to remove all accumulated dirt. For stubborn soiling, reach for a powerful yet safe cleaner – such as Stain Cleaner – and tackle the grime head-on.
Our tip: professionals use the "two-bucket method" here. One bucket contains water mixed with shampoo solution, while the other holds clean water used solely for rinsing the mitt or sponge. This reduces the amount of dirt transferred back onto the paintwork and minimises the risk of micro-scratches.
Once done, rinse the bodywork thoroughly and dry it with an absorbent microfibre towel.
Iron remover: metallic deposits
Brake dust? Airborne rust? Metallic deposits? If that brings a dirty wheel to mind, you'd be right – but bear in mind that this type of contamination is just as happy to settle on paintwork, and it's very difficult to spot with the naked eye.

This is a job perfectly suited to an iron remover. What is it and how does it work? It's a specialist product in liquid or gel form that, upon contact with metallic deposits, simply dissolves them while turning an intense purple colour. This is the so-called bleeding effect – but don't worry, nothing will be harmed.

At this stage, apply Iron Terminator to the paintwork and wheels, leave it for a few minutes, and if deposits are particularly stubborn, help the product along by spreading it with a brush. Finally, rinse off under pressure. Done – time to move on.
Paint cleaners: tar, tree sap and insects
Now take a close look at the paintwork, especially around the wheels, and check along the sills. If you spot black dots or streaks that you can clearly feel under your finger, you can be sure it's tar. On hot days, when the road surface becomes almost pliable, tyres act like velcro – flicking tiny particles of tar directly onto the paintwork. Scrubbing and forcibly removing these marks is a very bad idea. What you need here is effective, safe chemistry. Reach for New Pitch Cleaner, apply it to the affected areas, wait a few minutes until the deposits begin to dissolve, then remove the residue using a pressure washer or a microfibre glass cloth.

Stain Cleaner, on the other hand, will remove stubborn insect residue from the front of the car, as well as sticky tree sap deposits and bird droppings.
Clay bar: a magnet for contaminants
If the paintwork seems perfectly clean at this stage, we'd suggest a quick test. Run the back of your hand (or your fingers) across the paint in a few places. Does it NOT feel as smooth as glass? Time to clay!

Clay bar is a Japanese invention that works like velcro on contaminants embedded in the paintwork. Give it some lubrication with a diluted shampoo solution and glide it across the paint using horizontal strokes. Force isn't necessary – the weight of your hand is enough. Once a panel is clean, you'll feel the clay gliding smoothly. Keep a close eye on it though – as soon as the working surface becomes dirty, fold it inward and resume with a clean side. Always make sure the clay has sufficient lubrication, and be careful not to drop it. A piece that hits the floor will no longer be safe to use.
Deep paint cleansing
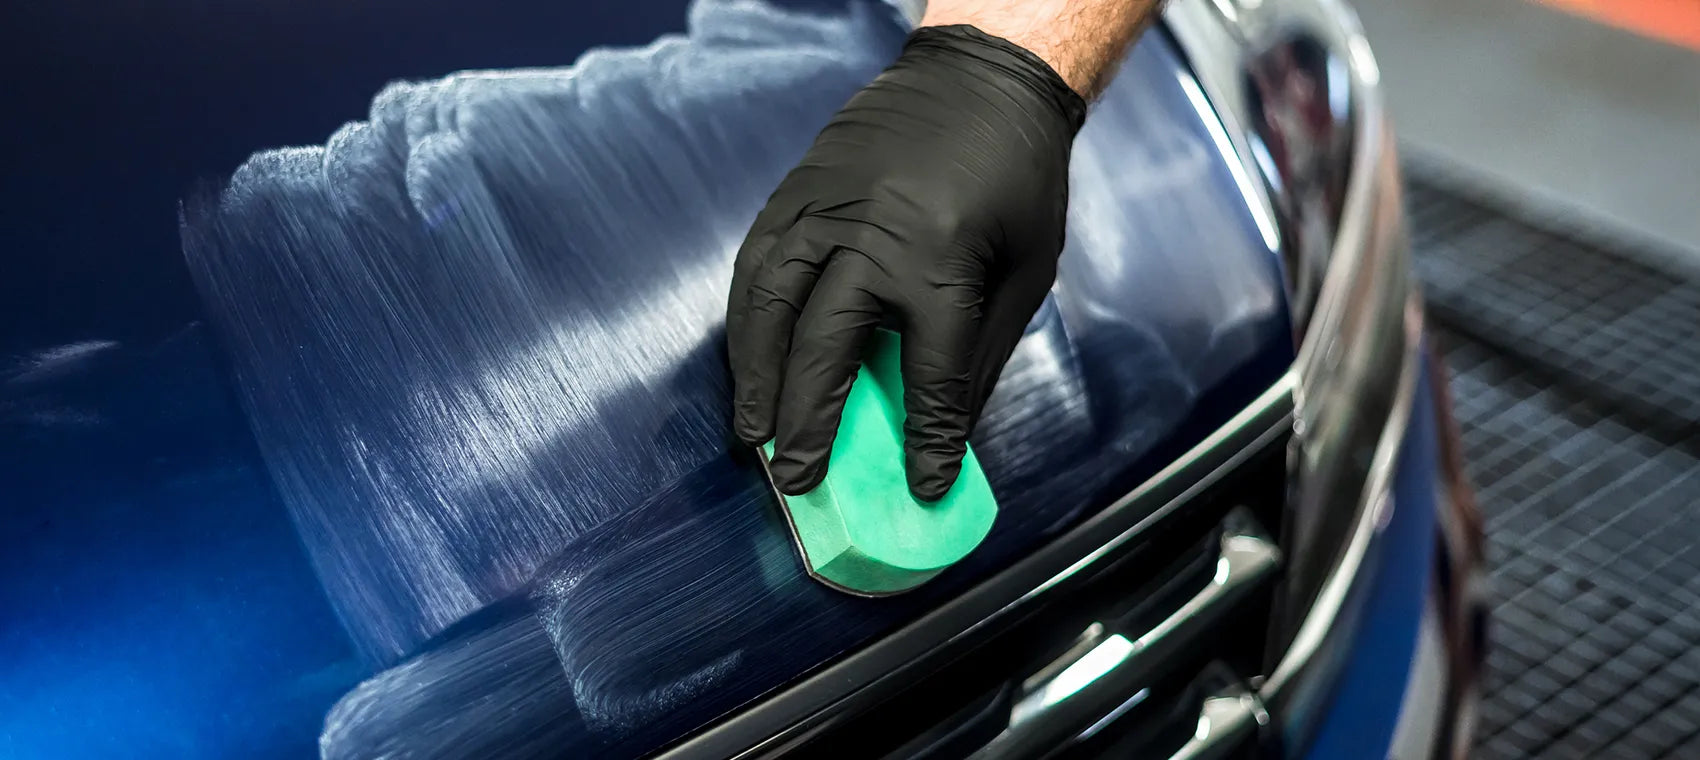
The next step is using a cleaner – a specialist product that serves as the penultimate stage of decontamination. To understand how it works, it helps to know that paintwork, despite appearing smooth, has a porous structure. It's within these pores that road film, along with residues of any previously applied waxes or coatings, tends to accumulate. Our cleaner, Micro Liquid Compound, effortlessly reaches these hard-to-access areas and effectively removes unwanted deposits. The product also contains fine abrasive particles and fillers that improve the condition of the paintwork by filling in and masking minor imperfections and micro-scratches.

Applying the cleaner couldn't be simpler – apply the product to the included applicator, work it carefully into the paintwork, then wipe away with a towel or microfibre cloth. The magic happens all on its own! Just remember to work in small sections to prevent any residue from drying. If you prefer, you can work wet – this makes things a little easier, and once you've finished a panel, simply rinse it off with water and dry.
Degreasing: the final step before wax or coating
The last – and critically important – stage is degreasing: the cherry on top when it comes to paint preparation! Silicone Off, one of the most powerful degreasers on the market, is responsible for removing oily film and flushing out the remaining traces of polishing compounds and glazes. A surface treated with Silicone Off is completely stripped bare, which guarantees the strongest possible bond between the wax and the paintwork. Apply the degreaser to a microfibre cloth and wipe down the paint. That's all it takes – and what a difference it makes!

Summary
Decontamination is worth carrying out at least once a year – ideally twice, before and after winter, which is the harshest season for a car's exterior. Give your vehicle a thorough deep clean before every application of wax or ceramic coating.
Finally, it's worth bearing in mind that even the best cleaning products won't indefinitely postpone the need for machine polishing. If you're dealing with heavily scratched or depleted paintwork, don't hesitate to carry out a paint correction – a one- or multi-stage process of restoring the clear coat.